
Pixel Art for Godot 4: Tilesets, Autotile and Ready Scenes
Draw your tiles, turn them into autotile terrains and paint a level — then export it for Godot 4 as a TileSet and a scene that open ready to use. Everything runs in the browser and is free: no plugin, no import script, no hand-wiring terrain bits in the TileSet panel.
The workflow
- Draw or import your tiles — Draw tiles in the pixel art editor, or cut an existing sheet into tiles with the tileset slicer.
- Build the tileset — In the tileset editor, group tiles and generate autotile terrains: Wang 16 corner sets or blob 47 sets.
- Export the TileSet — Choose “Export for Godot 4” to get a .tres TileSet with the atlas, terrain sets, collision and animated tiles filled in, plus the PNG.
- Paint a level — Open the tileset in the tilemap editor, paint ground layers with terrains, and place props and characters on sprite layers.
- Export the scene — Export the map for Godot 4: a zip with a ready .tscn scene, its .tres tileset, the images and a README.
- Open it in Godot — Copy the files into your Godot 4.3+ project and open the .tscn. Set the default texture filter to Nearest for crisp pixels.
What lands in Godot
A TileSet with terrains already set up
The tileset export packs every tile into one atlas and writes the .tres TileSet around it. Wang 16 terrains become terrain sets in Match Corners mode, blob 47 in Match Corners and Sides, so the TileMap panel’s terrain brush works the moment you open it. Solid tiles collide on physics layer 1, and animated tiles keep their frames.
A scene, not just an image
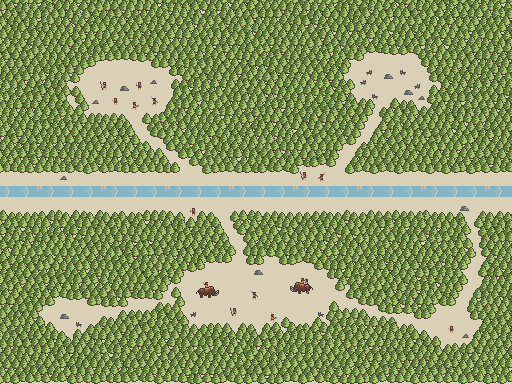
The map export is a zip with a .tscn scene on that same TileSet. Ground layers are TileMapLayers you can keep painting; sprites become Sprite2D or AnimatedSprite2D nodes, y-sorted as on the map; object layers become named Marker2D points for spawns and doors.
Characters and props
Animate characters in the pixel art editor with frames, onion skin and frame tags, then export a sprite sheet for an AnimatedSprite2D, or a sheet with JSON in the Aseprite format.
Import settings for crisp pixels
- Project Settings › Rendering › Textures › Default Texture Filter: Nearest.
- Keep the camera zoom and window stretch at whole numbers (2×, 3×, 4×).
- Use Godot 4.3 or newer for TileMapLayer nodes.
Tools for each step
- Pixel art editor — tiles, sprites and animation
- Tileset slicer — cut an existing sheet into tiles
- GIF to sprite sheet — turn an animated GIF into a sheet for an AnimatedSprite2D
- Tileset editor — terrains and the Godot 4 TileSet export
- Tilemap editor — levels and the Godot 4 scene export
- Community tilesets — start from someone else’s tiles
- Compare pixel art editors — how this stacks up against Aseprite, Piskel and Pixelorama